
How to Identify Tides Seal Assembly Damage
It is critical to make sure your shaft seal system is getting proper forced water cooling. If there is a temporary loss of cooling, the internal bearing on the Tides Seal assembly will become damaged or wear out quickly. Once damaged the seal assembly could spin with the shaft and come loose. This results in a leaking seal.
Most experienced mechanics will see the leak and recommend replacing the seal. This can be done easily in the water if you have a spare seal on the shaft. However, before changing a seal you should determine if the assembly is damaged. Placing a new seal in a damaged assembly is a waste of time and a good seal. It will still leak.
The internal bearing in the Tides Seal assembly should be 0.016″ larger than the shaft. This keeps the assembly riding on the shaft and within the tolerance of the lip seal. There is a simple test that you can perform on the Tides Seal in your engine room to determine if the internal bearing has failed or become worn. As you will see in this video, place your hand under the seal assembly and pull straight up. If the bearing is damaged or worn, you can lift the assembly 1/8″ or more and water will squirt in. If the bearing is still within tolerance, it will feel like you cannot move it at all on the shaft.
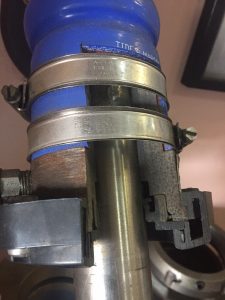
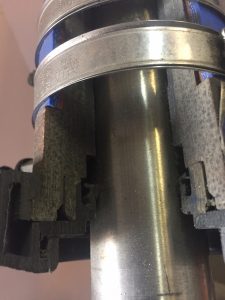 The adjacent photos show cut-away of the Tides Seals assembly with the internal bearing and shaft.
If you do have a damaged bearing the only option is to replace the assembly. This means the shaft needs to come off the transmission, slid back and coupler removed. There are divers that can plug the stern tube to do this in the water if you are well prepared and experienced.
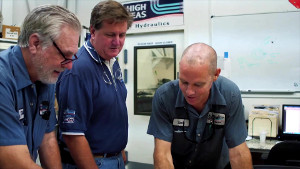 Click to watch the video of a day at High Seas Yacht Service.
 Click to watch Marine Industries Association of South Florida video featuring Salty Jobs at High Seas Services.
Comments are closed.