
Machining new hydraulic rods for a Quantum Stabilizer
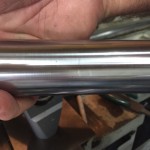
Scored rods
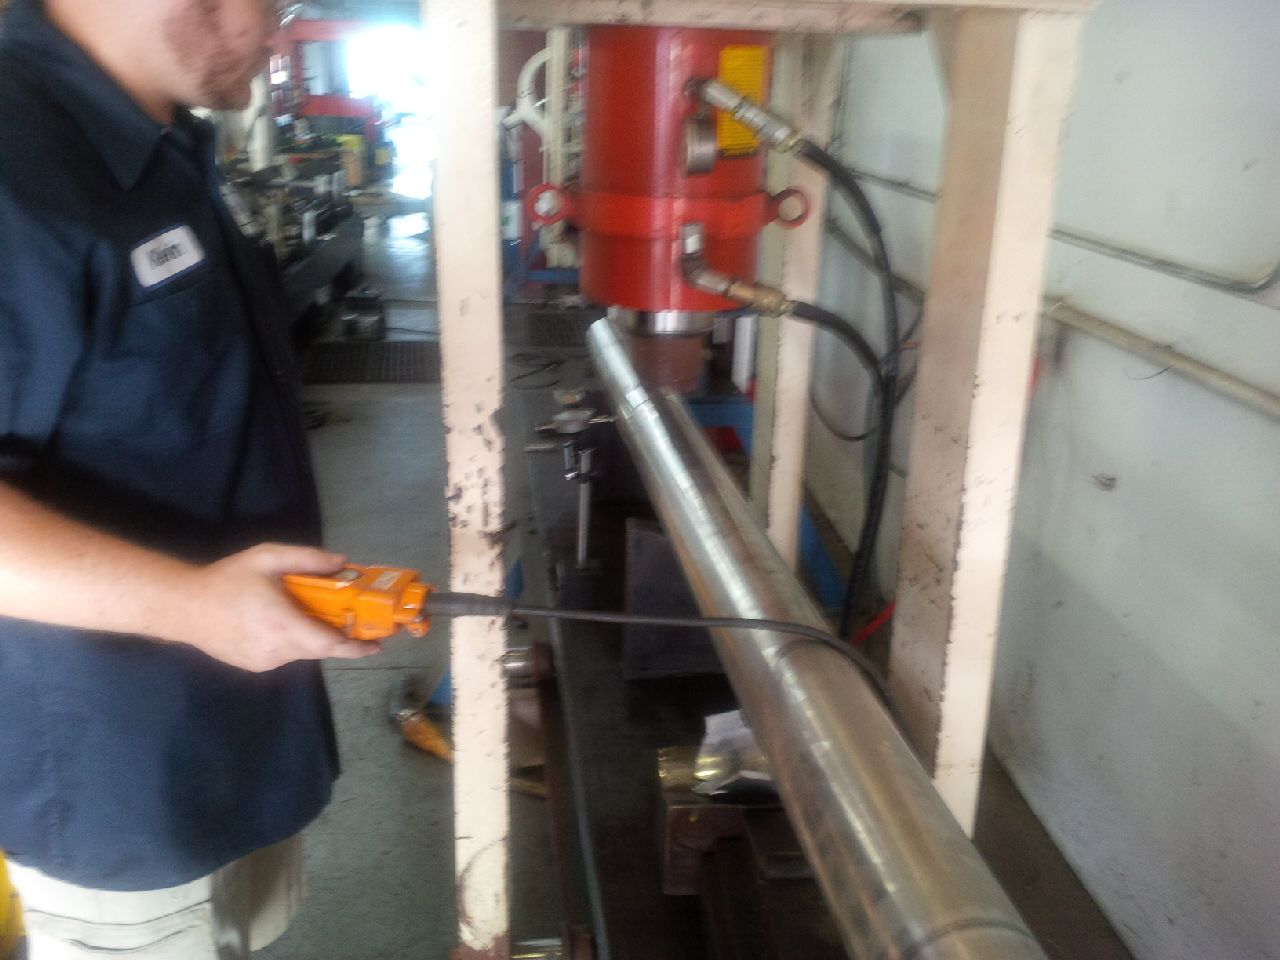
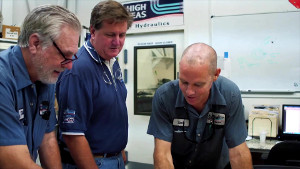
A customer walked into our sister company, High Seas Hydraulics with three leaking Quantum Stabilizer cylinders from a 150 foot Trinity motor yacht. Upon close inspection, it was determined that there were fine scores or scratches in the hydraulic rods that were causing the fluid to bypass the seals. These scratches could not be repaired or polished out so new hydraulic rods would need to be installed.
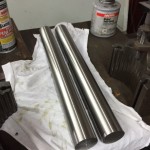
Raw materials
That is when our hydraulic teams turned to our machine shop Straight Line Marine. Through our procurement department at High Seas, we were able to source the raw materials needed to fabricate new hydraulic rods within a day.
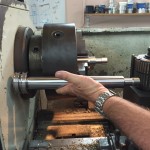
Finished rod
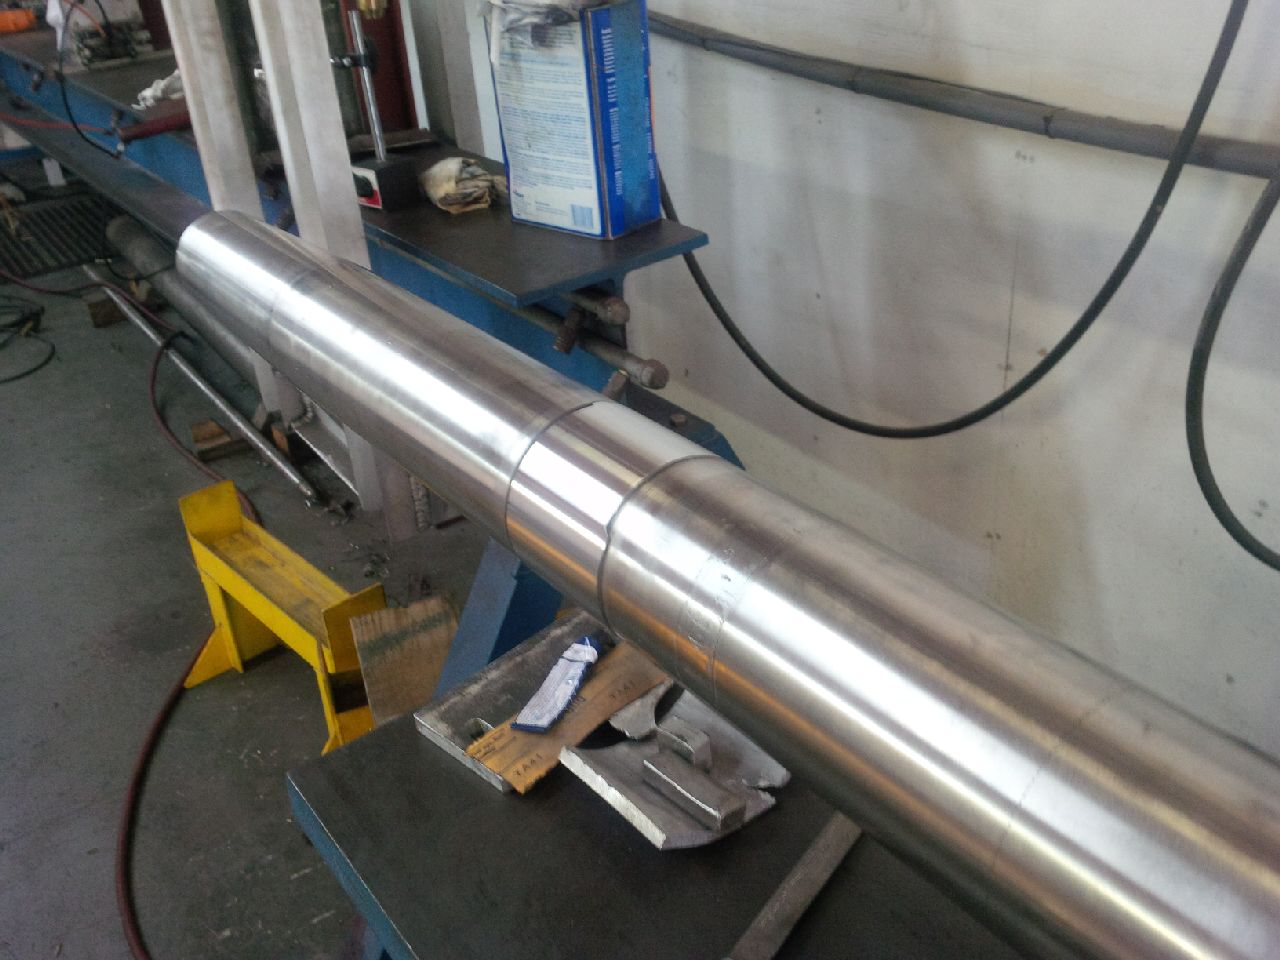
The Straight Line Marine machinist went to work and crafted new rods to exact specifications including intricate thread machining.
The ability to bring the stabilizer cylinders back to top working order with new hydraulic rods fabricated on-site in our machine shop saved this motor yacht’s owner and captain both time and money and was completed from a one stop company.
Team Work Makes Short Order of this Job
A 156′ Custom Motor Yacht was hauled at Lauderdale Marine Center for a new paint job and other routine maintenance. As part of the painting process, the hydraulic side boarding ladder was removed by our Hydraulics team at High Seas Hydraulics for disassembly in order to paint the parts. The mechanical project was fairly straight forward. We made new pins and bushings in our machine shop, Straight Line Marine to replace some that were corroded in place and to provide for smoother operations of the ladder.
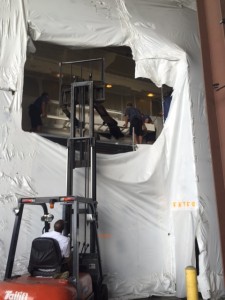
Using a forklift to reinstall ladder
The tricky part of the job was getting the ladder on and off of a boat of this size with the vessel blocked in the yard and surrounded by scaffolding. Careful use of a forklift and skilled technicians from both our hydraulics but also from our running gear teams made the job a success.
Our on-site services ranging from hydraulics work, machine shop capabilities and skilled technicians from all three of our companies define team work in getting the “big” jobs done right.
High Seas’ Straight Line Marine Featured in Professional Boat Builder Magazine
Our dedicated machine shop, Straight Line Marine, was featured in a cover story in the January/February issue of Professional BoatBuilder Magazine. The article titled “The Necessity of Straight” provides an in-depth look at the art of shaft alignments. The author visited our facilities at Lauderdale Marine Center for a refresher course in the practice and precisions required to get running gear alignments right. The article also touches on our new Hydraulics division and its capabilities. <Read More>
High Seas delivers expertise in running gear and hydraulics under one roof
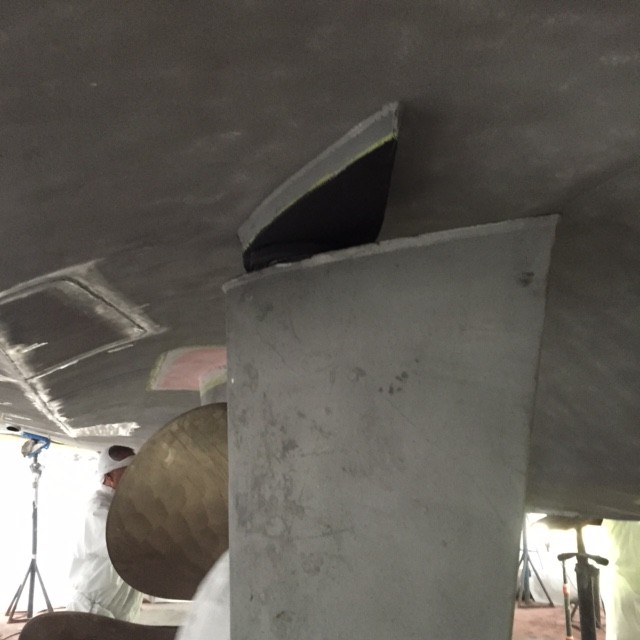 When a 121′ Heesen was recently hauled at Lauderdale Marine Center, we were contracted to work on a number of different components on the yacht. As part of the refit and general service, our technicians removed the rudders and replaced the bearings and the seals. We also performed an optical scope alignment on the boat, pulled the shafts, couplers, props and Wartsila shaft seal assembly to ensure that everything was in alignment and in good working order.
While the yacht was hauled it also needed routine maintenance and service performed on its Hydraulic Steering System. It is recommended that this type of service be performed every 5 to 7 years to ensure the yacht continues to run at peak performance. A steering failure can be extremely inconvenient
For this work, we called in our hydraulic experts from our sister company High Seas Hydraulics. As part of the process, we drained and flushed the hydraulic tanks containing the steering fluid, removed and rebuilt the steering cylinders and replaced the old hoses with newly fabricated ones that were made on site in our shop.
Part of the general refit on this yacht included installing new hard hydraulic lines. To ensure that the lines were clean prior to filling the tanks with fresh hydraulic steering fluids, air is blown through the lines starting at the tank and ending where the hoses meet the cylinders.
Having a shops that specialize in both running gear and hydraulics under one roof, can often time save the owners, captains or engineers’ time and money.
Straight Line Marine provides valuable support in machining customized fittings
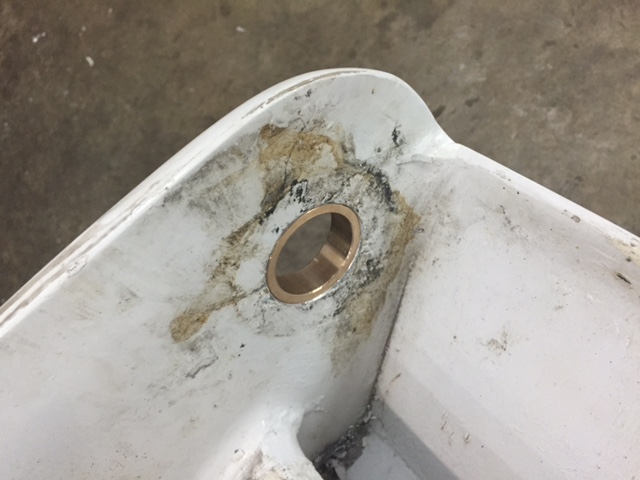
New bronze bushing
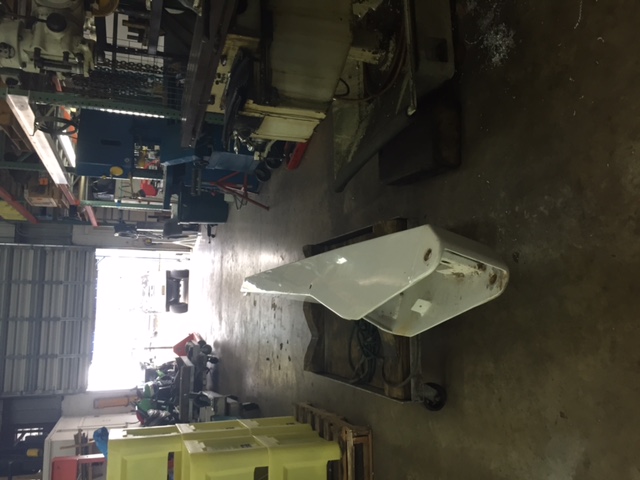
Forward crane assembly
When our long time customer, a 150’ Palmer Johnson, returned to Lauderdale Marine Center for service and maintenance, they asked us to perform some routine maintenance on the forward crane system. During the process, we found that the stainless steel pins had corroded the aluminum housing of the unit making it unsafe to function as designed. Instead of sending the unit out to a third party machine shop for re-fabrication, we were able to take advantage of our in-house operations, Straight Line Marine. Straight Line was able to quickly fabricate and machine new bronze bushings and insert it into the unit. This quickly put the job back on track for our Hydraulic technicians to finish their job and get the crane safely installed back in the boat.
Straight Line Marine and High Seas Yacht Service in the News!
The October/November issue of Professional BoatBuilders profiled our neighbor and partner All Points, Inc. which included information on Straight Line Marine and our specialized capabilities working on shafts. It also ran a photo of an optical alignment, referencing High Seas Yacht Service. Hope you enjoy the article.
Shaft Cladding – Welding Heat will Cause a Bend
We were recently approached by a captain from a 112 foot Westport who we have done business with in the past. The boat was purchased by a new owner when an engine vibration was uncovered and the captain asked us to check the shaft and alignment to remedy the problem.
One of the first steps our technicians at High Seas Yacht Service took was to remove the shaft to check for potential problems such as a bend or bad coupling fit. Once the shaft was removed, it was sent to our machine shop – Straight Line Marine. On the straightening table we found that that the run-out showed that the shaft was .001” or within straight tolerance – obviously not the cause of the vibration.
However, what we did find was some fairly significant pitting around the Tide Marine Lip Seal that was causing the seal to leak.
Cladding process
Given the pitting on the shaft and the resulting leaks, we recommended a procedure called shaft weld-over or cladding, a process of repairing a worn or damaged area on a shaft through the use of welding and a lathe. Our machine shop is ABS Certified for Aquamet Stainless Steel Shaft Cladding and was the first machine shop in Florida to hold this designation.
For this particularly job, we welded an area approximately 3 inches long or 10 minutes of continuous welding to address the issue. Welding of this intensity can generate extreme heat of up to 700 degrees Fahrenheit. This type of heat can cause the shaft to bend so after a cooling off period, we re-checked this shaft and found that it indeed had a bend of 0.020” at the coupling end. After putting the shaft through the straightening process and returning it to 0.001″, it was ready to be re-installed in the vessel.
Finished shaft
The lessons learned from this particularly job – when investigating the cause of one problem, another may come to light. Finding the pitting and corrosion on the shaft that was causing the leaks was the result of good diagnostic practices, delivering a solution that saved the captain thousands of dollars by cladding a shaft instead of replacing it was possible due to the combined experience and expertise you get from High Seas Yacht Service and its sister company, Straight Line Marine. The lesson also reconfirmed that cladding does cause a bend – so make sure the machine shop that performs this type of welding is qualified to straighten shafts.
Performing a complete running gear refit
We were recently hired to perform a complete running gear refit on a very unique 120 foot Trinity Sport Fish. The refit included everything from realigning the strut bearings using a “line boring” machining process, realigning transmissions and installing new stern tubes.
This particular yacht also had very old Paxman engines and Christie & Grey engine mounts, both UK-manufactured products. The Paxman engines were going through a major overhaul with another contractor so we proposed replacing the old Christie & Grey engine mounts with a new type of adjustable isolating mount. For this project we selected Vulkan mounts.
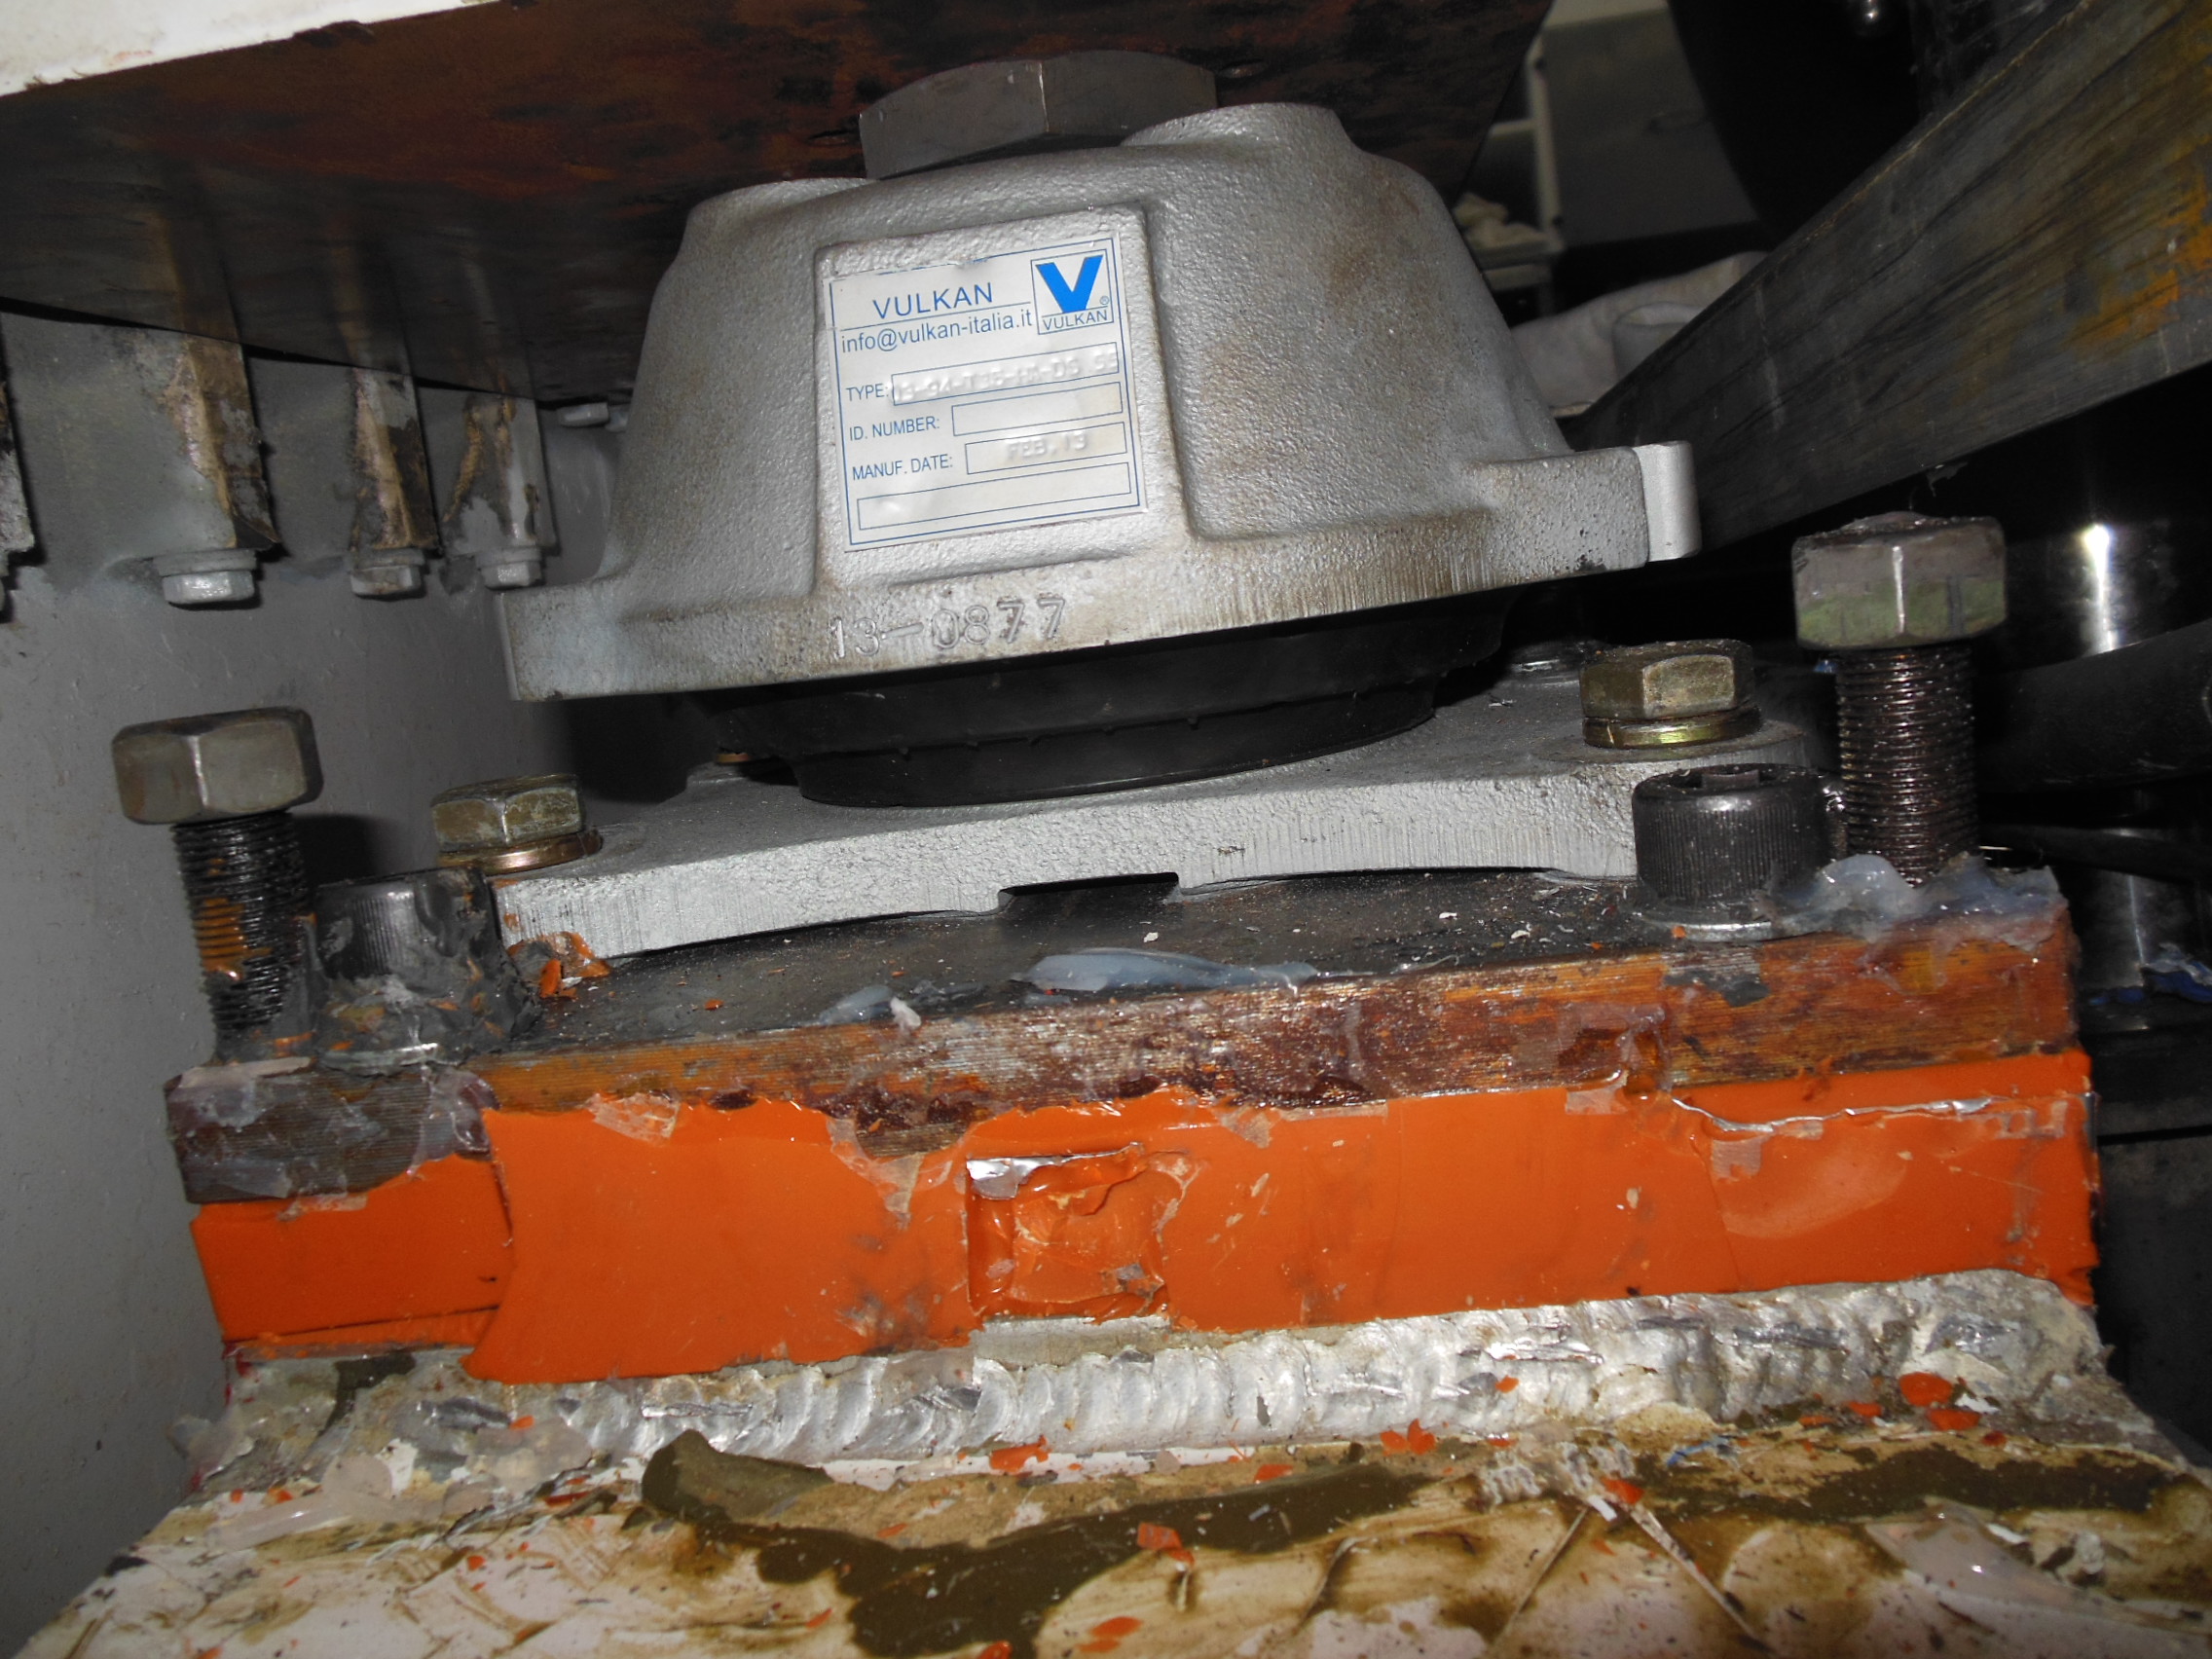
New Vulkan engine mount with CHOCKFAST
In order to install the new Vulkan engine mounts, we needed to fabricate all new sole plates, drilled new holes in the aluminum stringers and align with CHOCKFAST® ORANGE. CHOCKFAST is an engineered epoxy chocking material that is used to cast-in-place permanent machinery supports for all sizes and types of main engines and marine auxiliary equipment. Because it conforms precisely to any surface profile, CHOCKFAST eliminates the machining of foundation and mounting surfaces as well as the fitting of the old-style steel chocks.
We also installed new Vulkan torsional couplings. This torsional coupling is found between the gear box and the engine and serves to dampen the torsional loads coming from the engine flywheel thus absorbing any twist in the shaft. The Vulkan torsional couplings have rubber or other material that does degrade with time and heavy use. After 10 years it is time to check your coupling. This one was well past due going on 17 years old.
Once the preliminary work and re-installation were complete, we performed a Ludeca Laser Alignment on the vessel. A Ludeca Laser shaft alignment uses a patented automatic CONTINUOUS SWEEP measurement mode which evaluates hundreds of readings during shaft rotation. This compares to shooting a movie vs. only taking flash pictures at certain intervals. The end result is less shimming and horizontal moves because you are measuring much more accurately.
This very unique Sport Fish is now ready to deliver many more years of sporting pleasure to its owners and crew.
.
We have been working on converting a 61 foot Blackwell “Carolina” Sport Fish’s shaft system back to its original configuration from an Oil Bath Shaft System. Along the way we have published a couple of posts on the steps we have taken to accomplish this task.
The final step to complete the job involved machining new Aquamet 22 H.S. shafts. AQUAMET 22 is a high-alloy austenitic stainless steel that provides superior corrosion resistance along with excellent toughness and high strength. The H.S. is a higher strength version of the material and is available in 2-1/2” to 6” diameters. For this boat, the shaft was 3-1/4” in diameter.
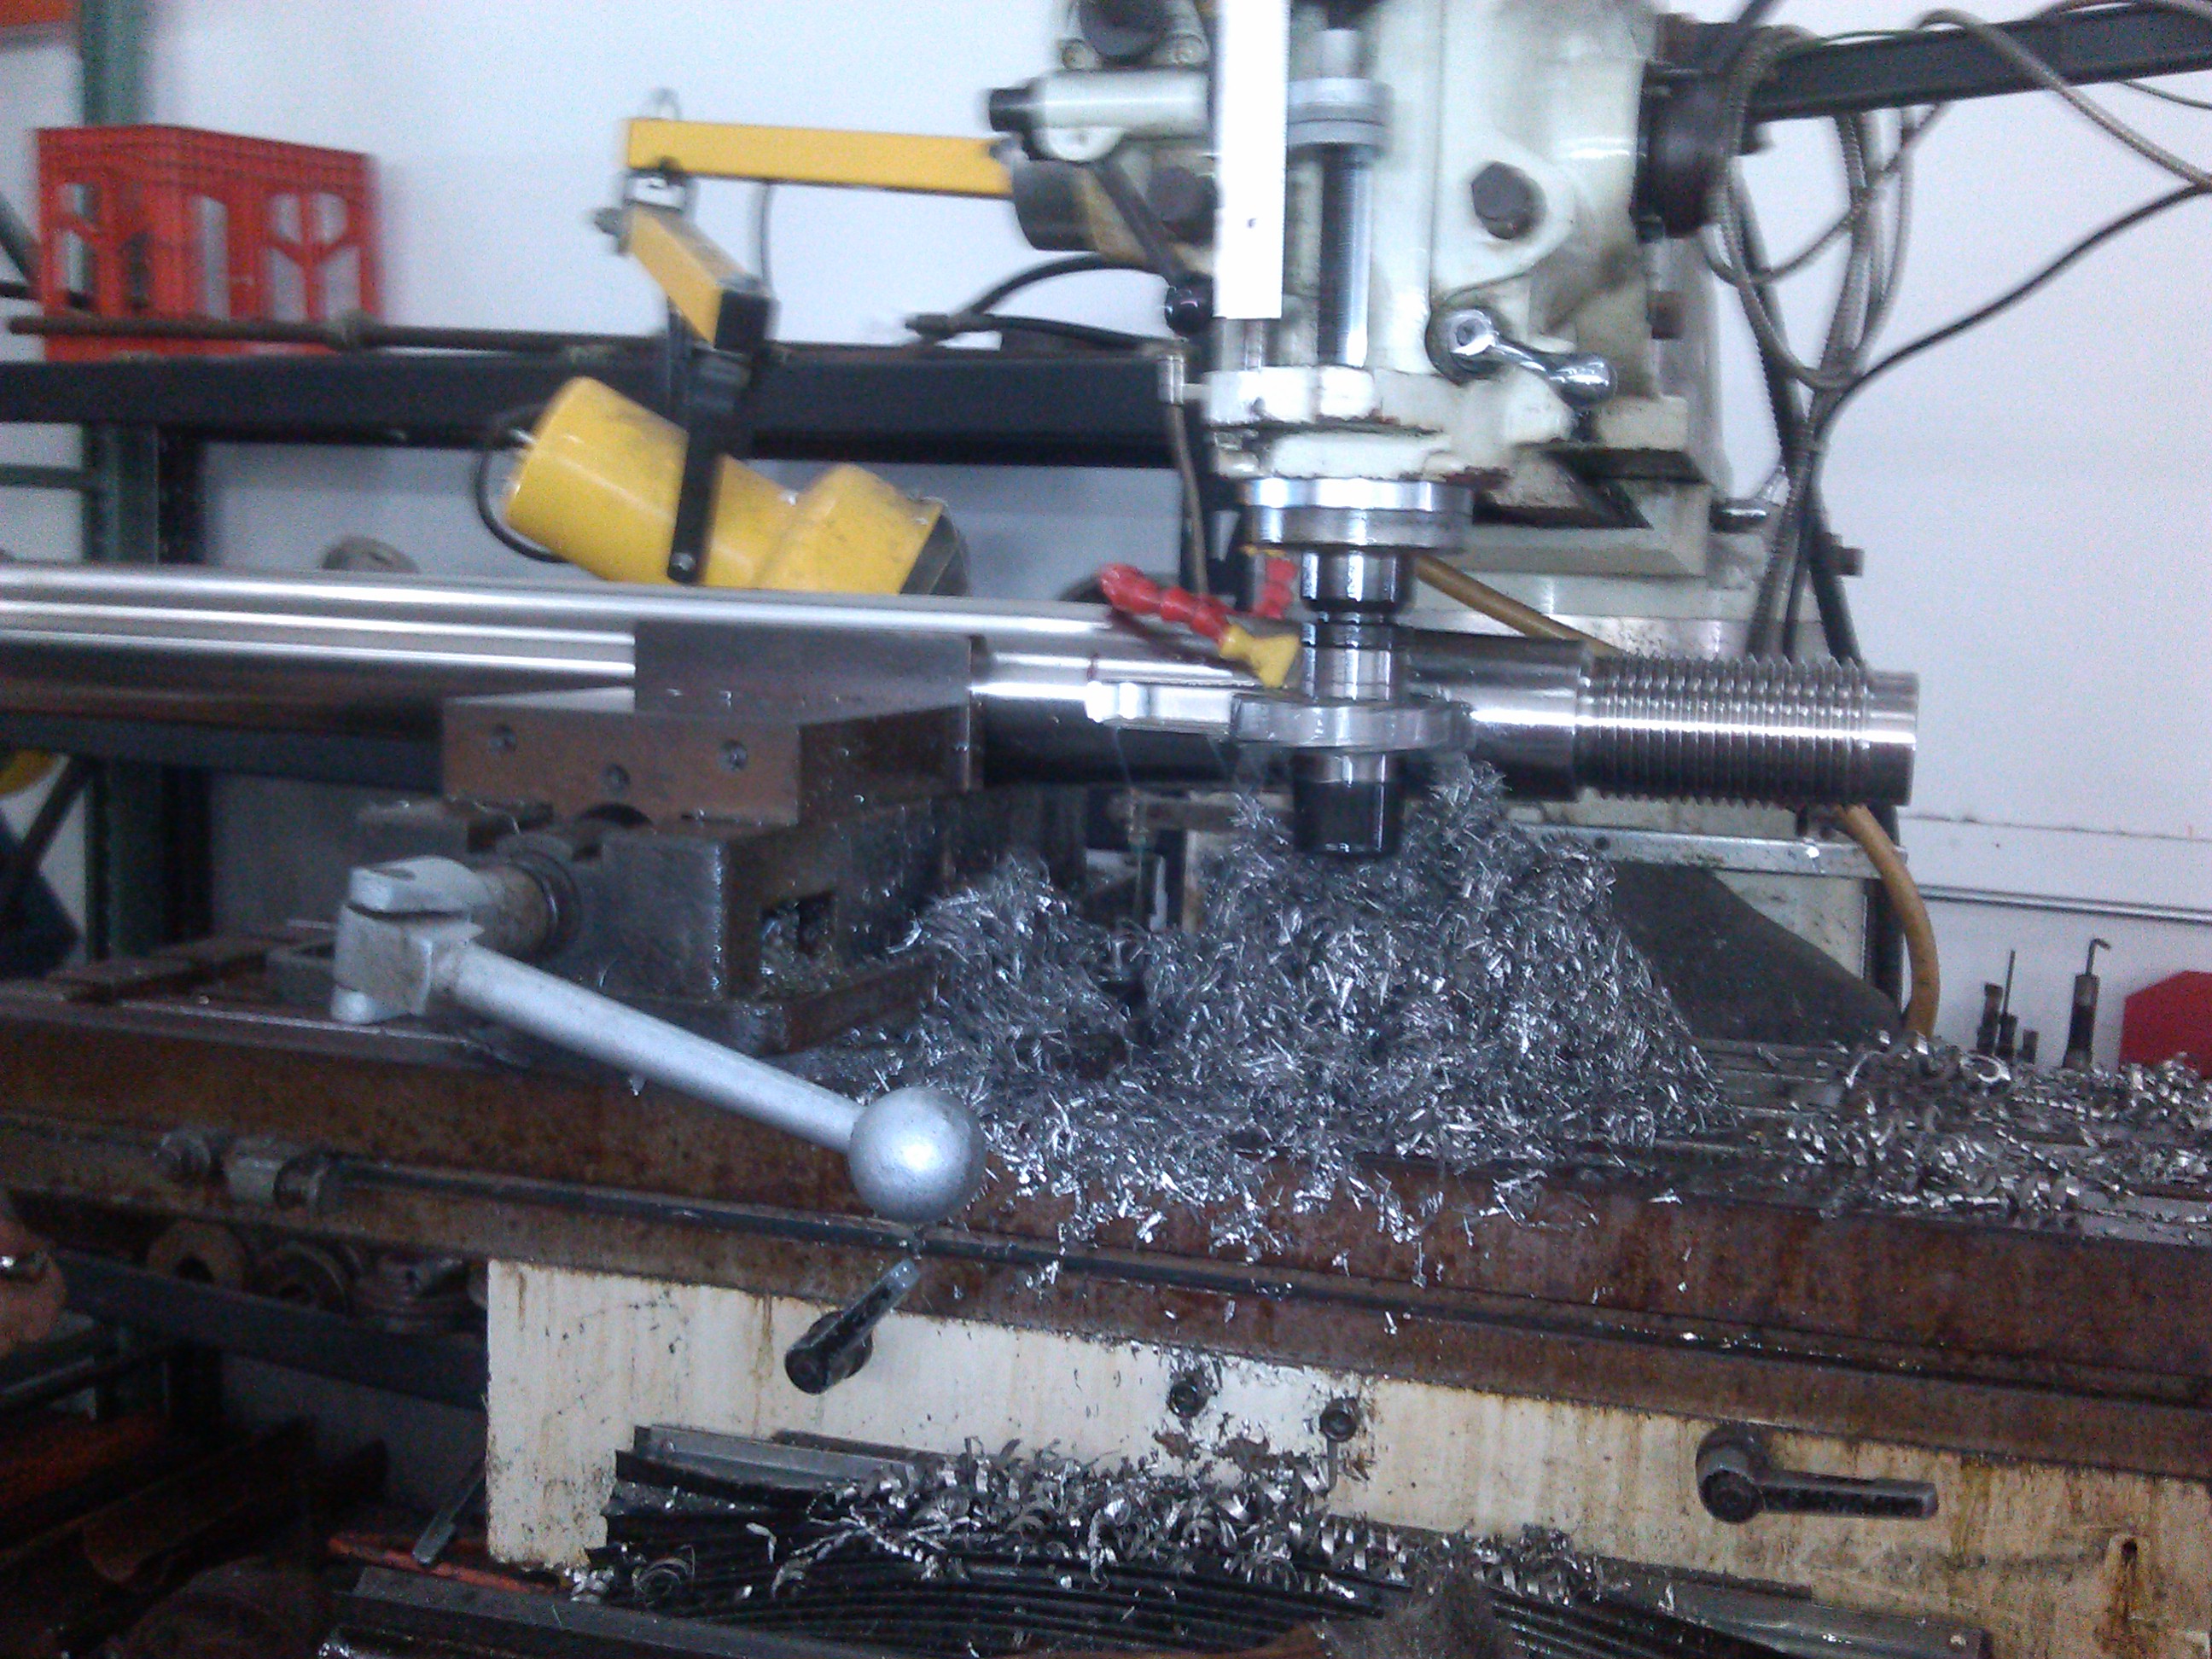
Machining keyway on new Aquamet shafts
Part of the process involved machining the coupler and prop tapers and keyways. We caught the machine shop as they were finishing the final prop keyway and lapping propellers. The key is a machine element used to connect a rotating machine element to the shaft. The key prevents relative rotation between the two parts and may enable torque transmission. For a key to function, the shaft and rotating machine element must have a keyway and a keyseat, which is a slot and pocket in which the key fits. The whole system is called a keyed joint. A keyed joint may allow relative axial movement between the parts.
Once completed, we lapped the propeller to the shaft. This was particularly important since the vessel purchased brand new Veem propellers that had never been seated on a shaft. When shafts are in the machine shop, you should have the props and couplers lapped onto the shaft. Lapping is the process of using a gritty paste between the two surfaces to allow them to grind together for a perfect fit. We prefer to lap while the shaft is in the lathe in order to take advantage of the shaft spinning and the overhead hoist to hold the heavy props and couplers.
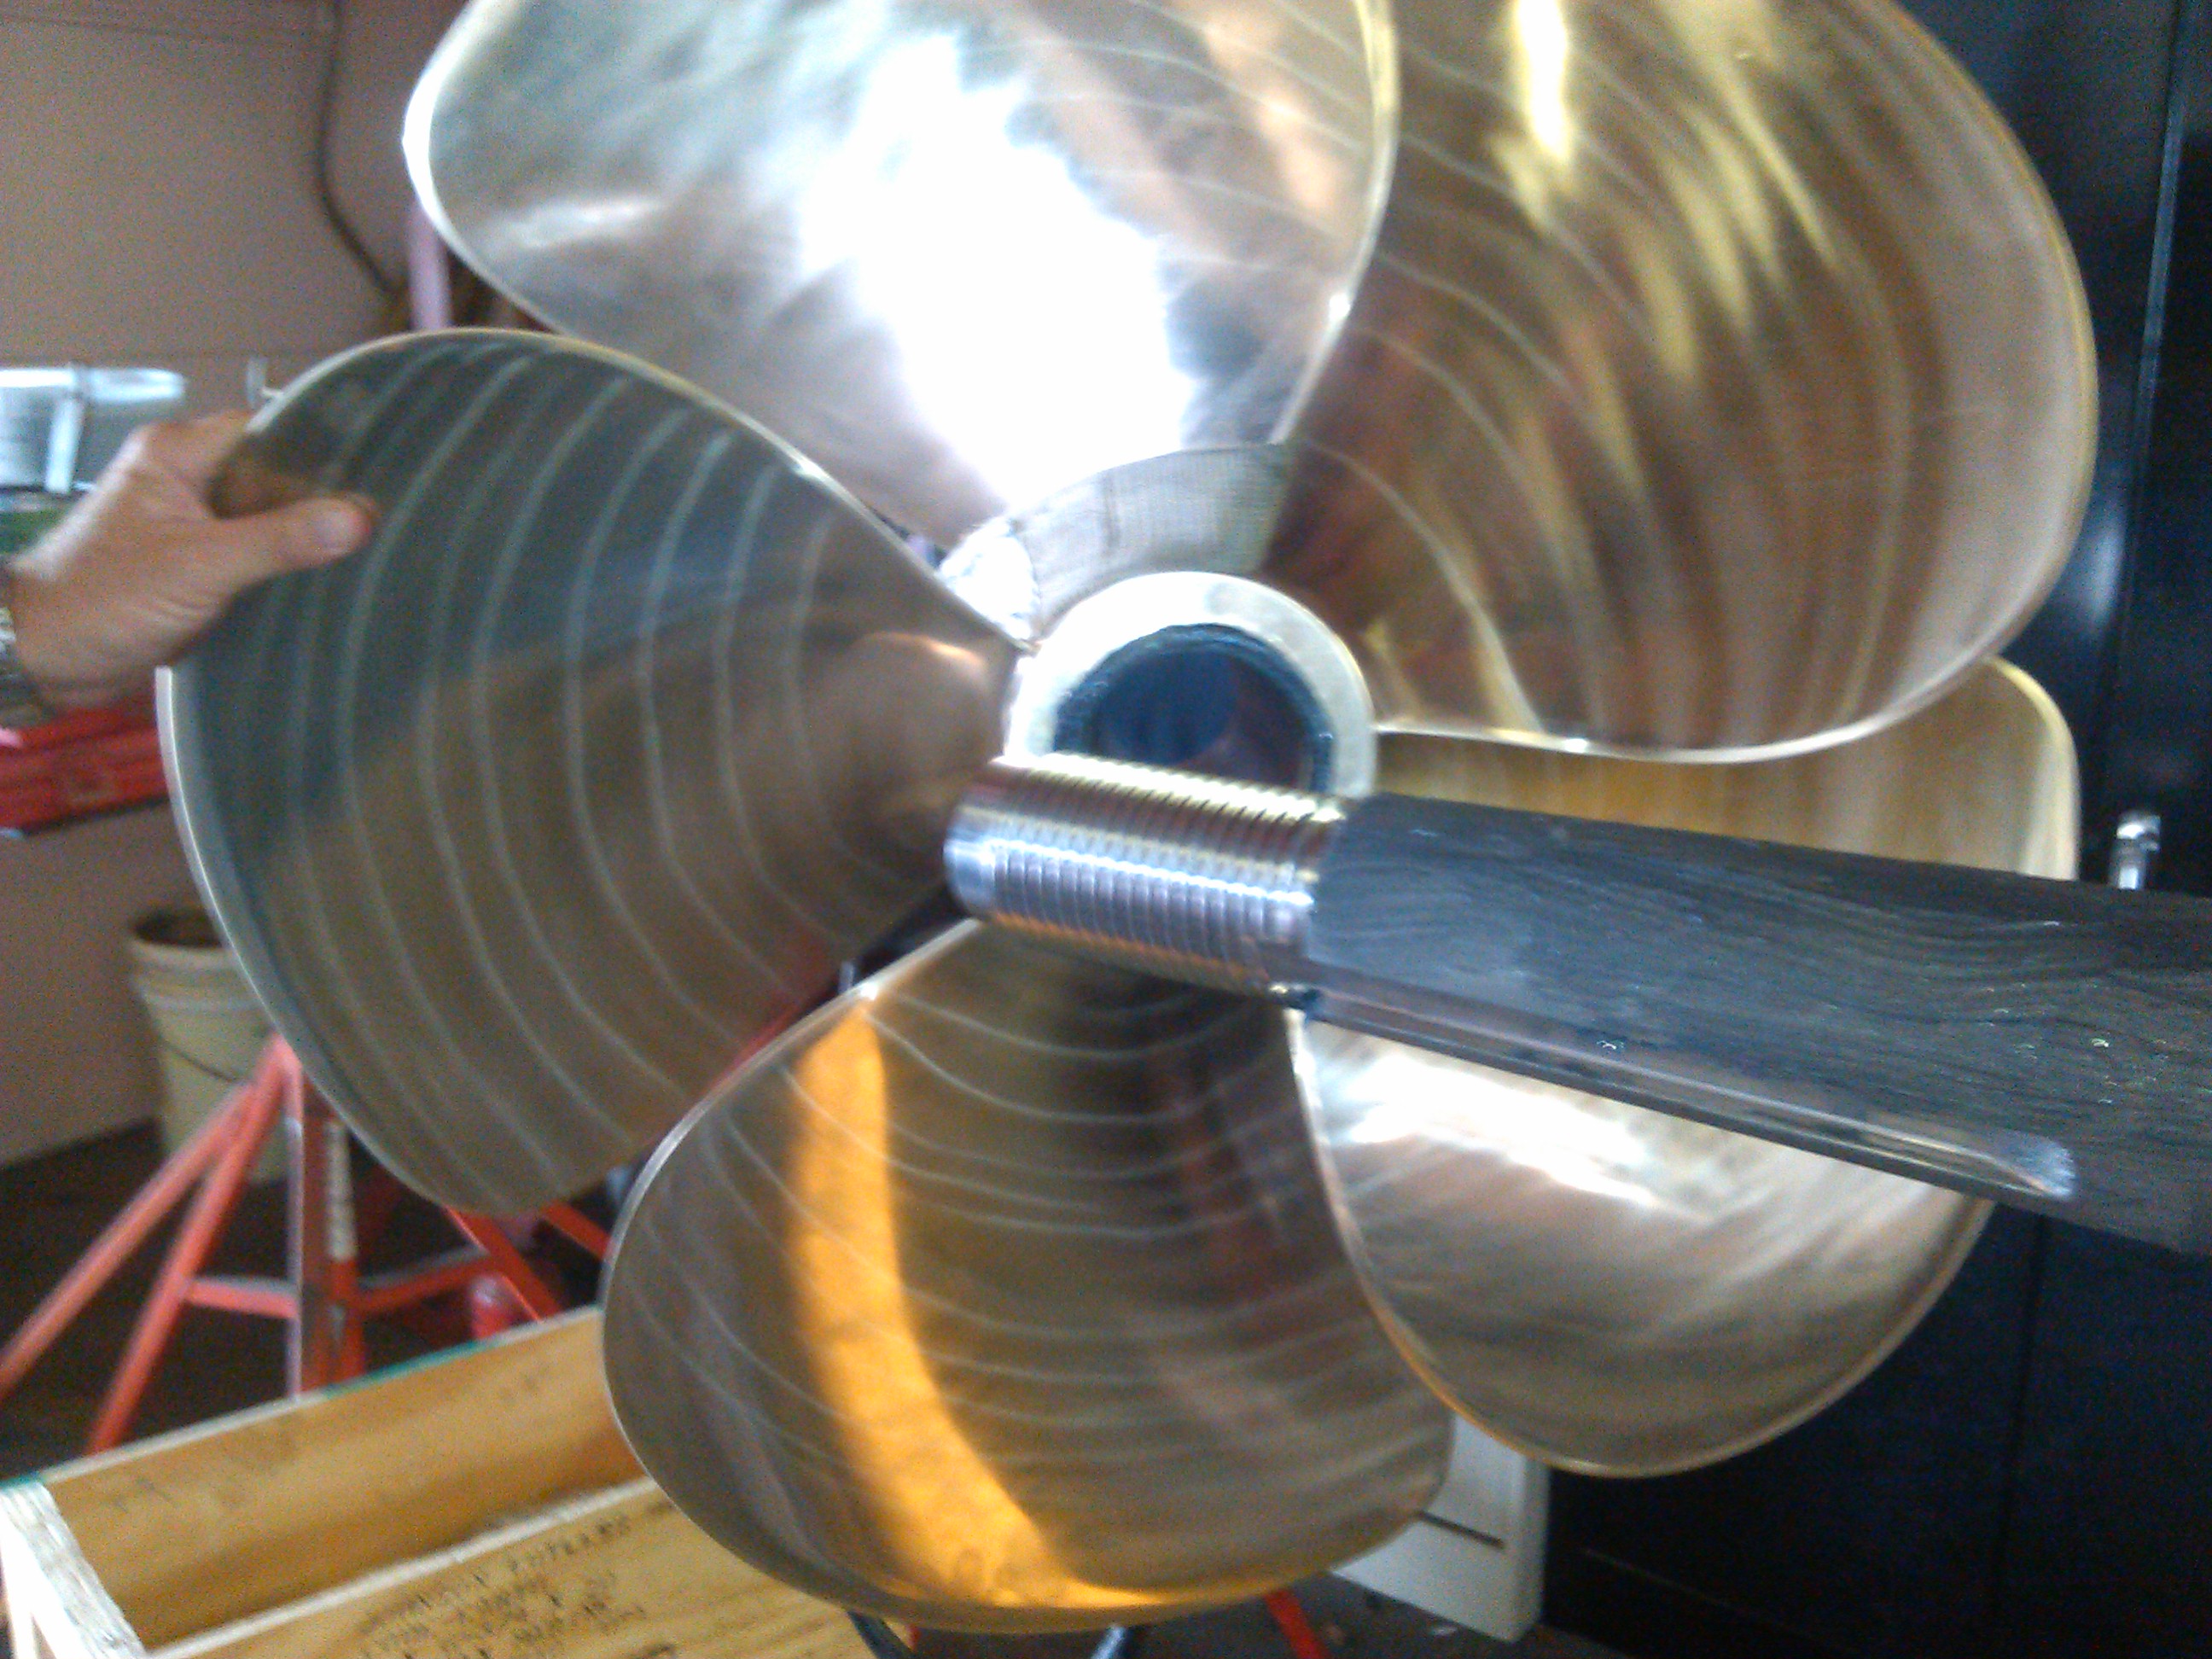
Lapping new shafts to props
Lapping the bore of the prop/coupler to the shaft taper ensures a 90-100% fit between the surfaces. If you are installing new propellers or shafts, this process becomes even more important. It is not uncommon to find a prop or coupler bore that is only touching in certain high points on the taper. A poor fit can cause the prop to be slightly off balance on the shaft. A poor fit with low contact is also more likely to become a loose prop at some point in time.
By performing the lapping process, we can provide a perfect tapered fit and a smooth ride for the future.
Propellers before red dye testing
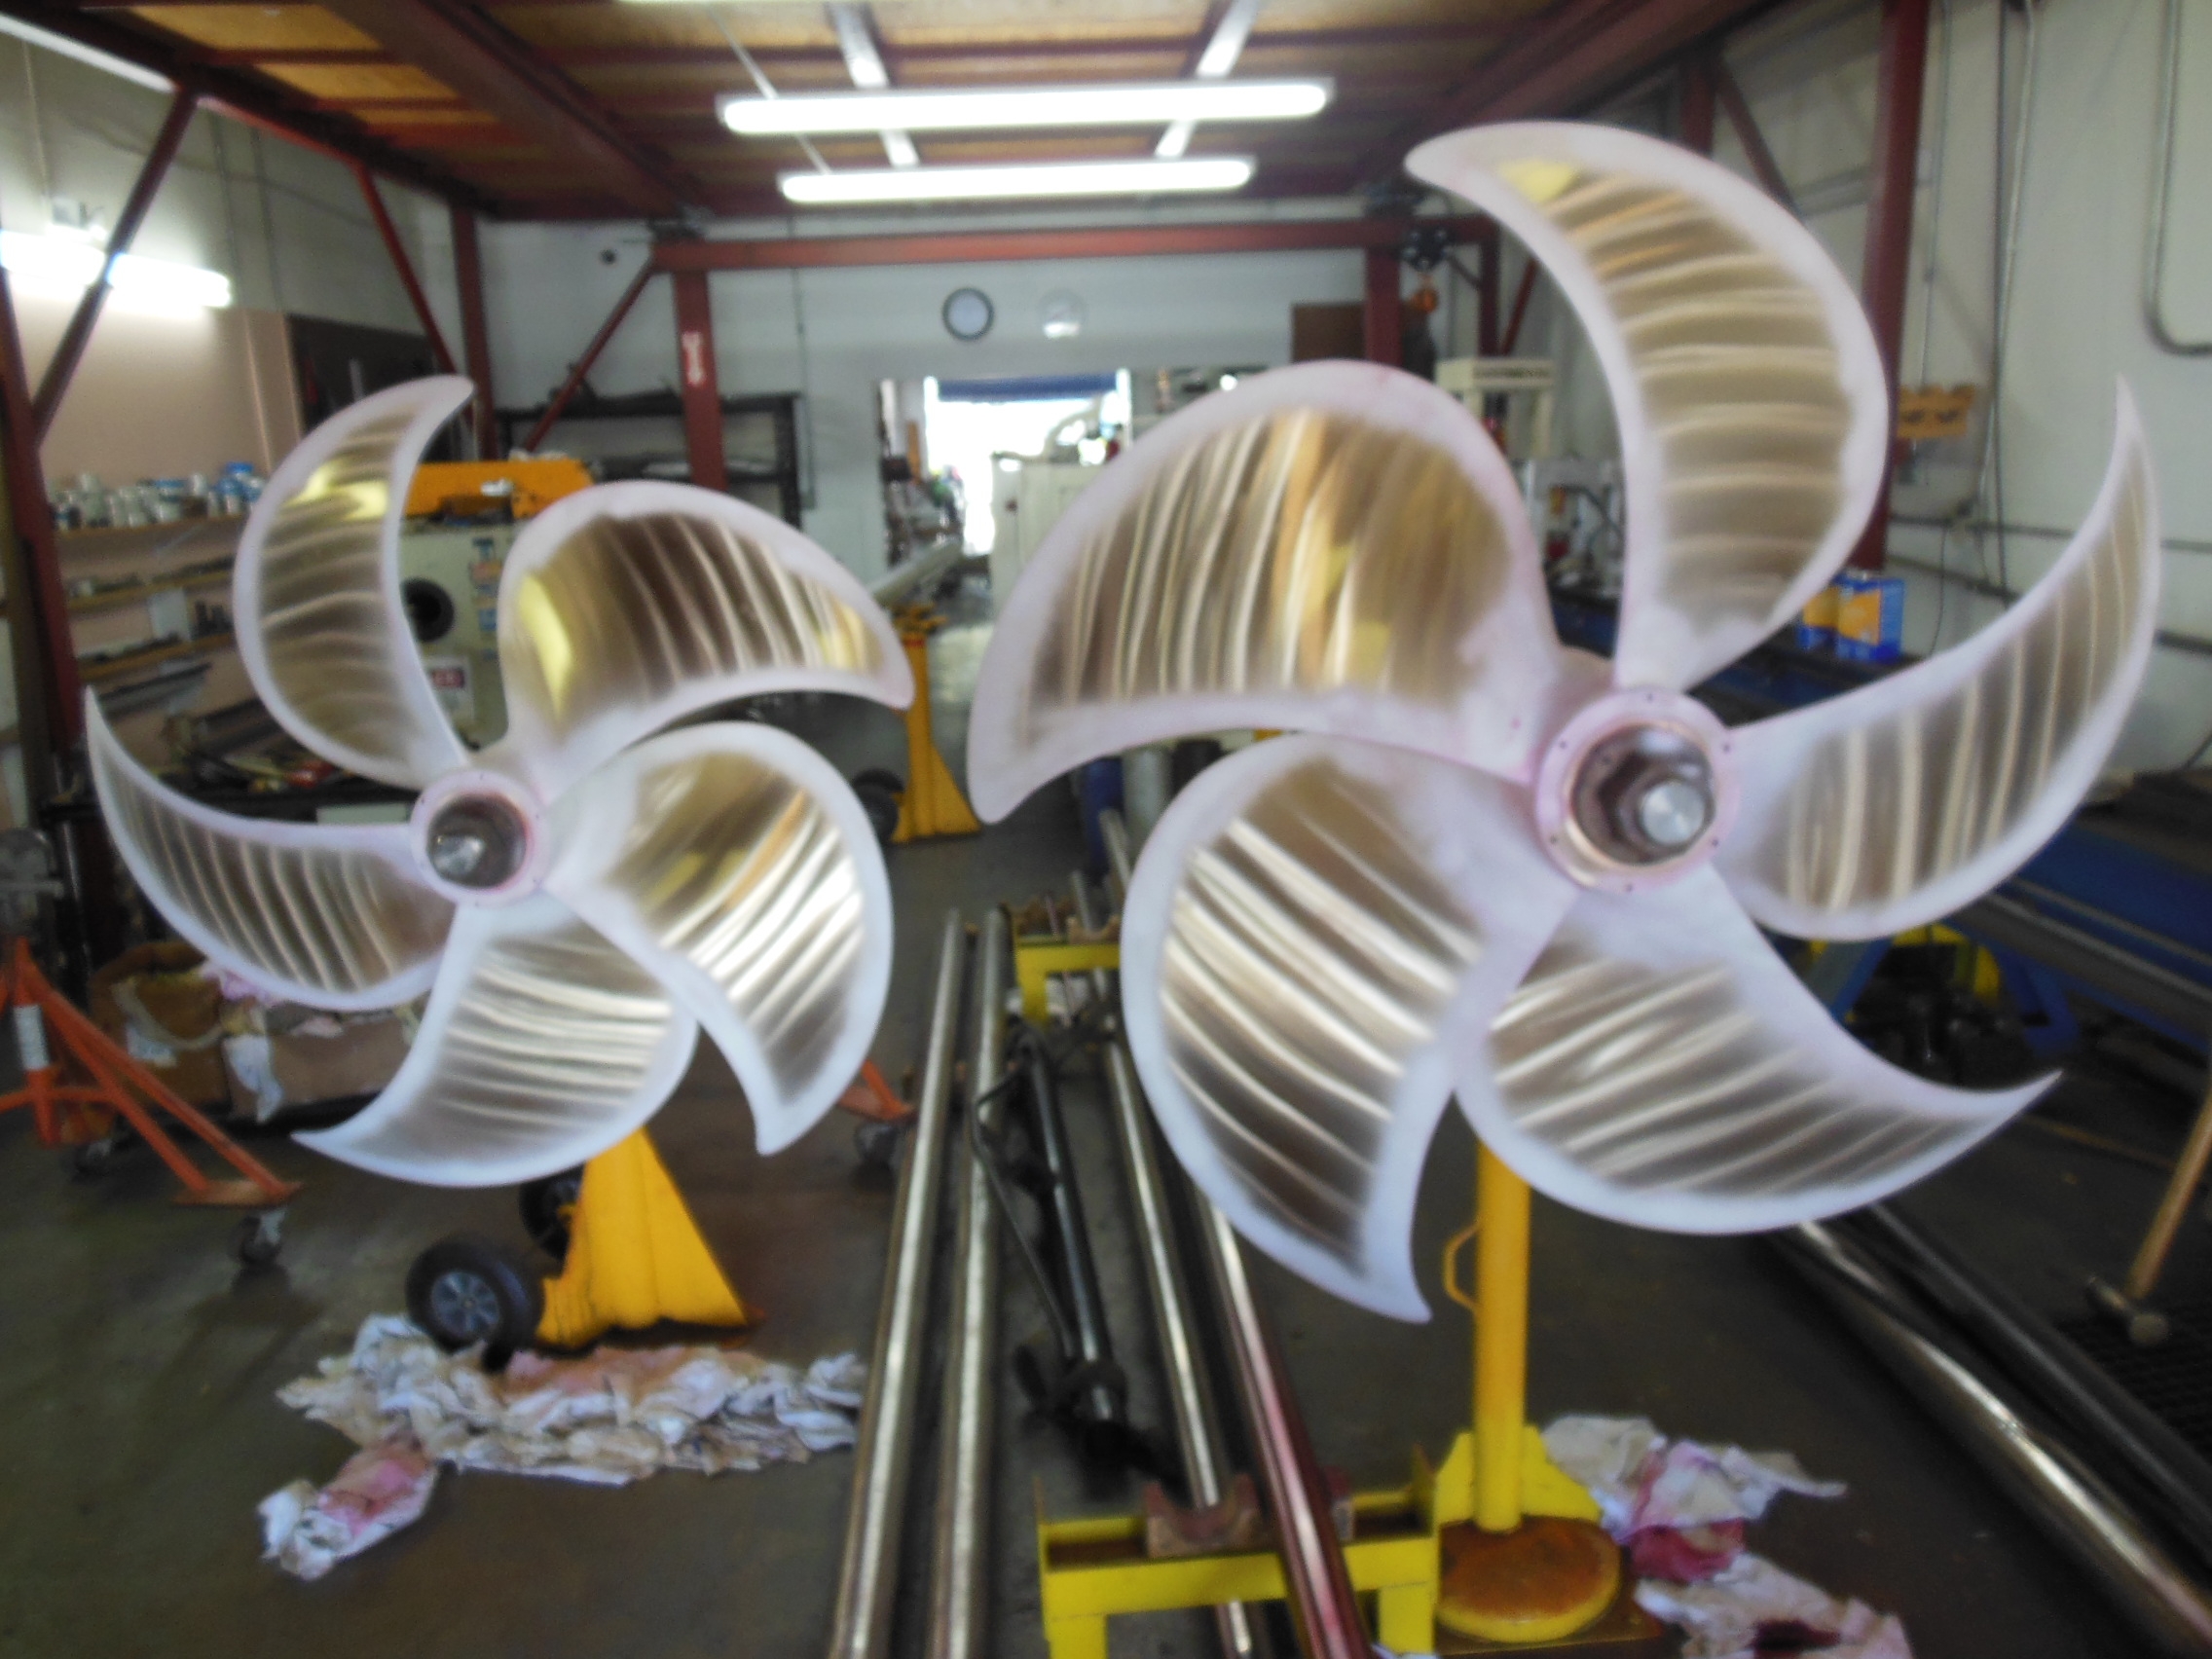
We recently did a full 10-year ABS running gear survey on a 120 foot Benetti that we recently worked on. Routine maintenance on most running gear includes shaft straightening when required along with alignment and ABS crack testing on the propellers of the vessel.
A couple of years ago, ABS implemented a survey requirement when a vessel is hauled for propeller work. Sometimes ABS requires crack testing of the propeller after it has been torqued on the vessel. In this instance the surveyor only required crack test of the hun and tips while it was still in the machine shop.
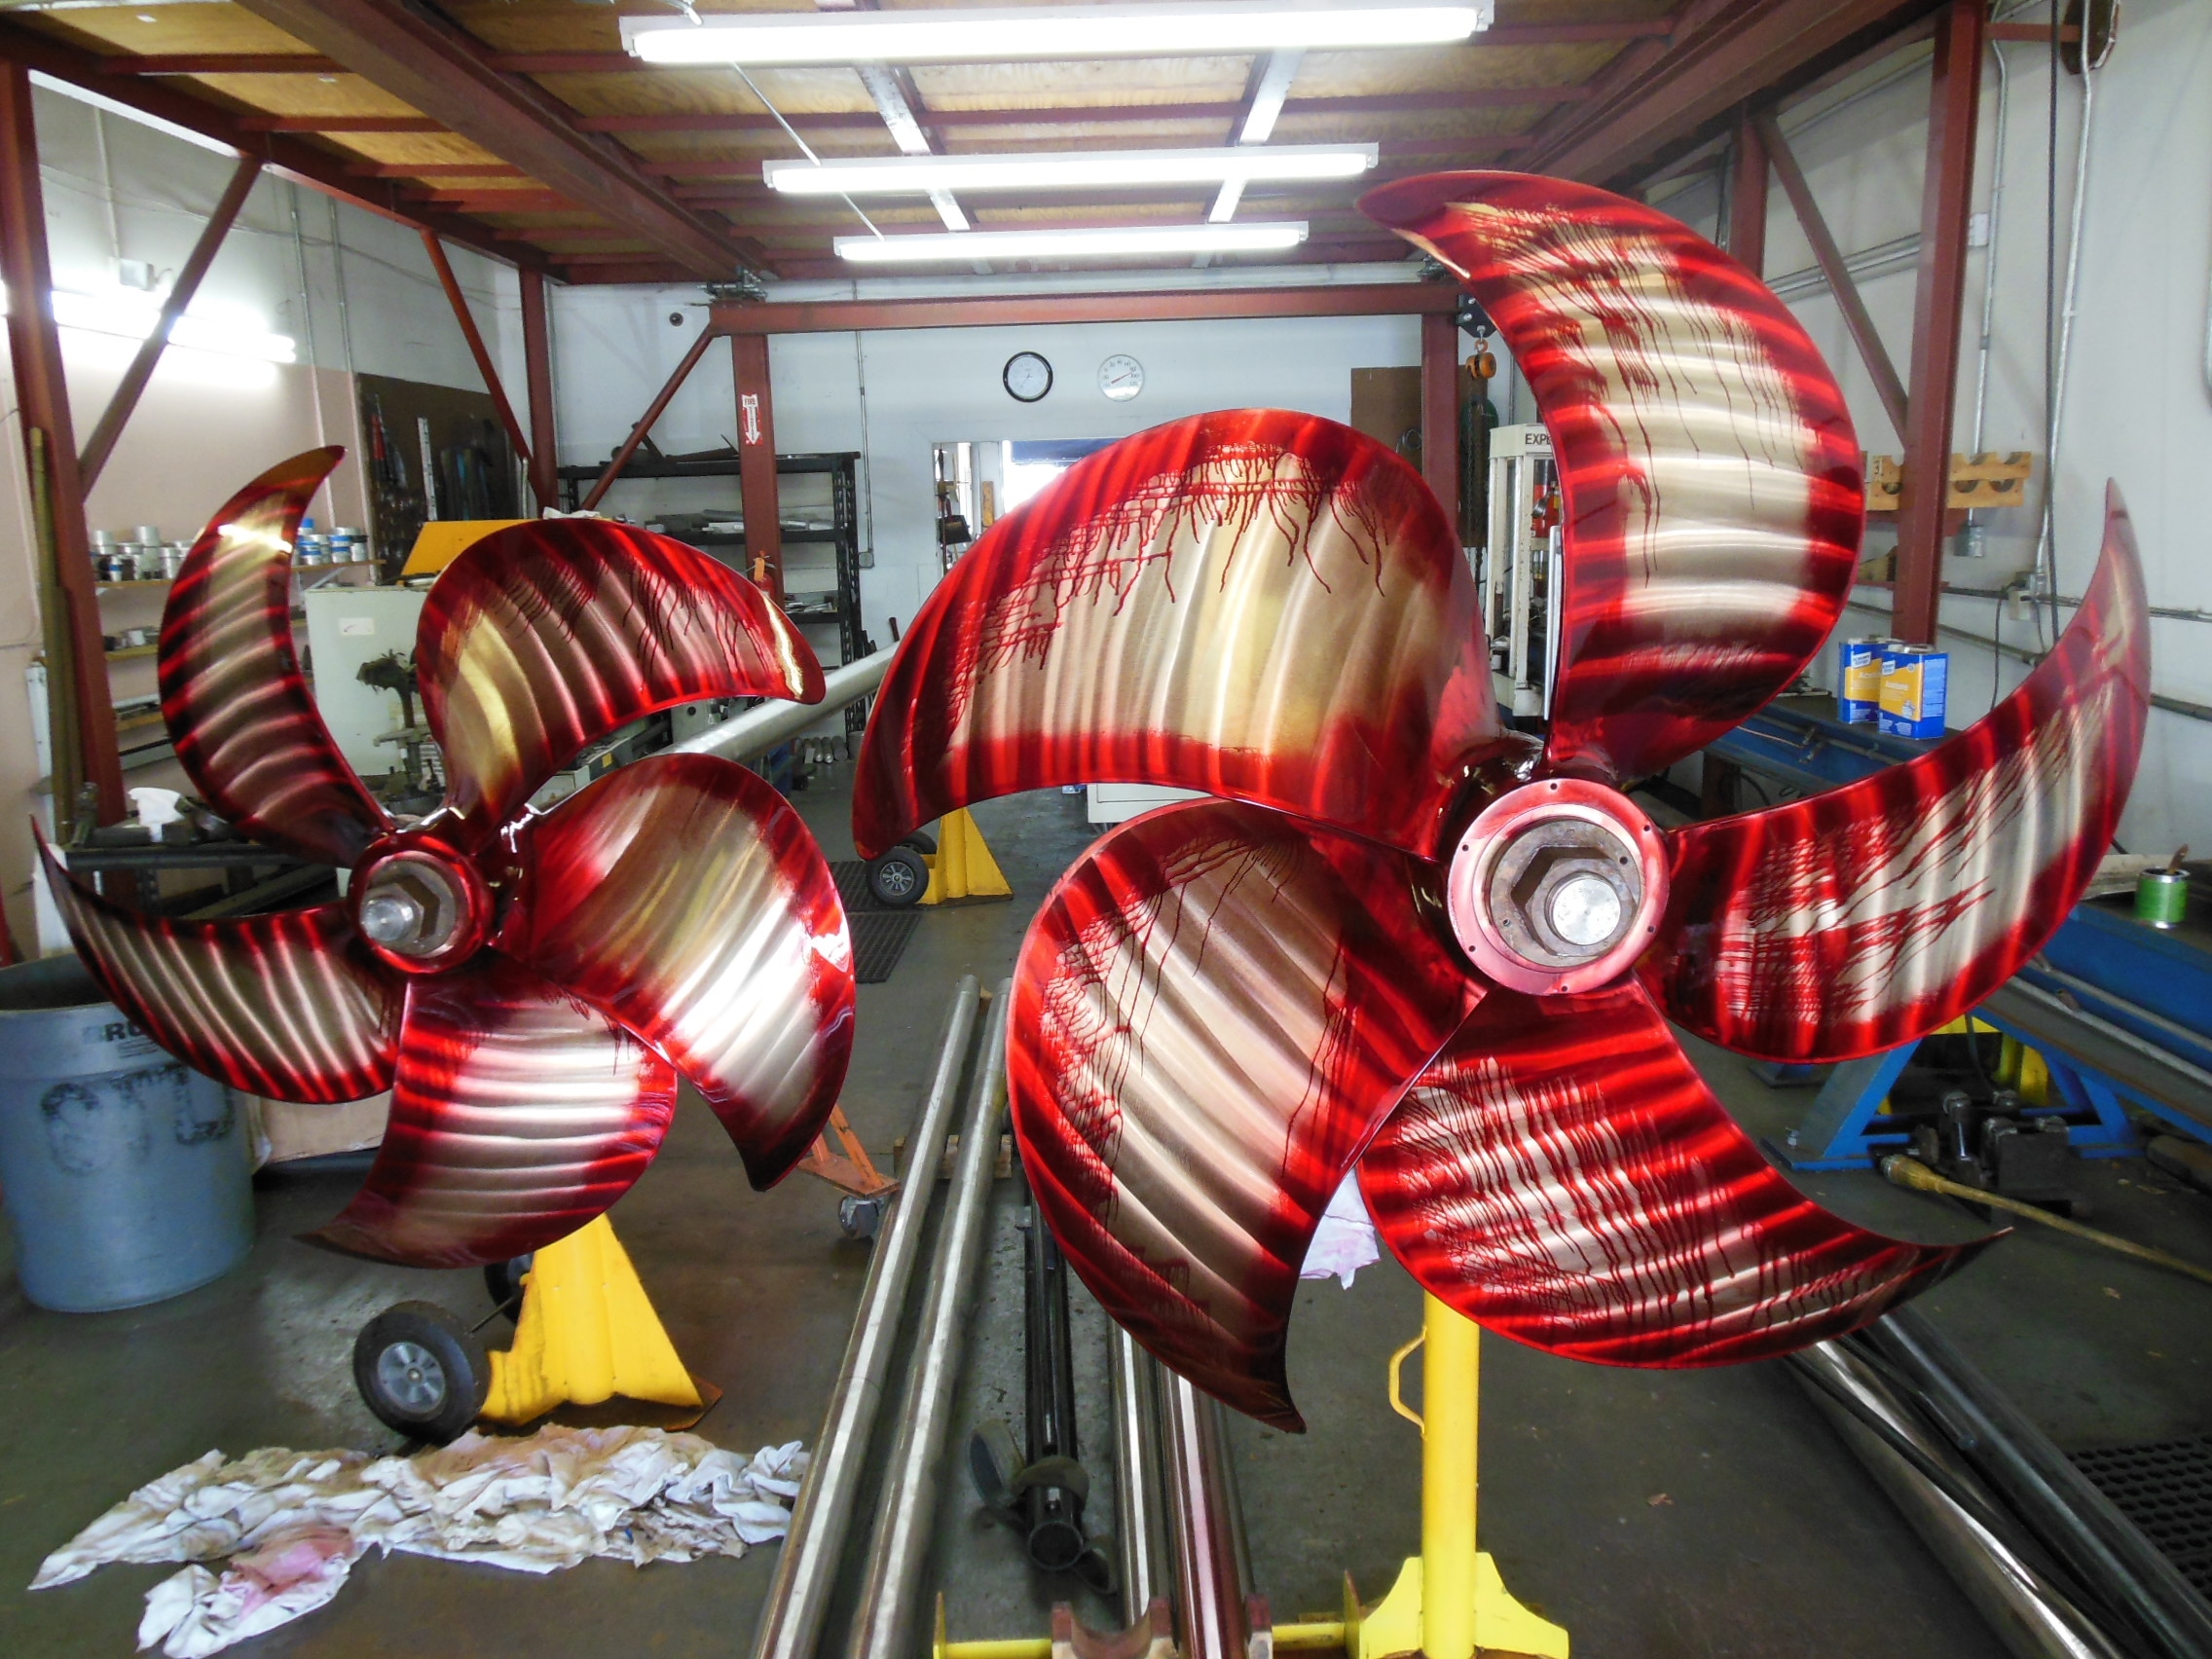
Red dye penetrant applied
Regardless of a vessel’s size, its propellers experience exceptional cyclic stress and fatigue. The stress can eventually result in cracks, both visible and microscopic. The fragmentation of a wheel while underway can have numerous consequences including the delay of a trip, damage to the vessel, or in rare cases, personal injury.
The red dye penetrant test is the preferred non-destructive procedure for crack testing a propeller. Depending on the volume of area to be tested, it usually can be completed within a few hours.
Although many yards or mechanics can apply dye penetrant and developer to a propeller, the skill, knowledge, and expertise truly exist in a technician’s ability to interpret the results. The ability to understand each nuance of a dye pattern can be the difference between unnecessarily replacing a propeller, or worse; not replacing one. Owners, captains, and engineers are wise to use only class ABS and Lloyds Certified Level II facilities for this procedure.
Our machine shop, Straight Line Marine is a certified Level II crack testing shop for running gear. Choosing the right facility with the right training and certification should be a top priority when going through an ABS survey or simply checking your props to make sure they are in top working order.
 Click to watch the video of a day at High Seas Yacht Service.
 Click to watch Marine Industries Association of South Florida video featuring Salty Jobs at High Seas Services.